This is a quick activity to do on Turkey Day with little ones.
I have received a few FB messages about posting fun crafts for Thanksgiving with kids.
Here is what we made this week:
My son made his at school, so of course I had to make more for the rest of them. Draw the turkey head and fold in half so you have 2 sides, then fold and cut once. Click on the top pic and you can see how its glued. He cut the whole thing himself.
My daughter's is just triangle scraps attached to a headband and some feathers. All cut by her.
For smaller toddlers I would pre cut everything have them glue and then wear.
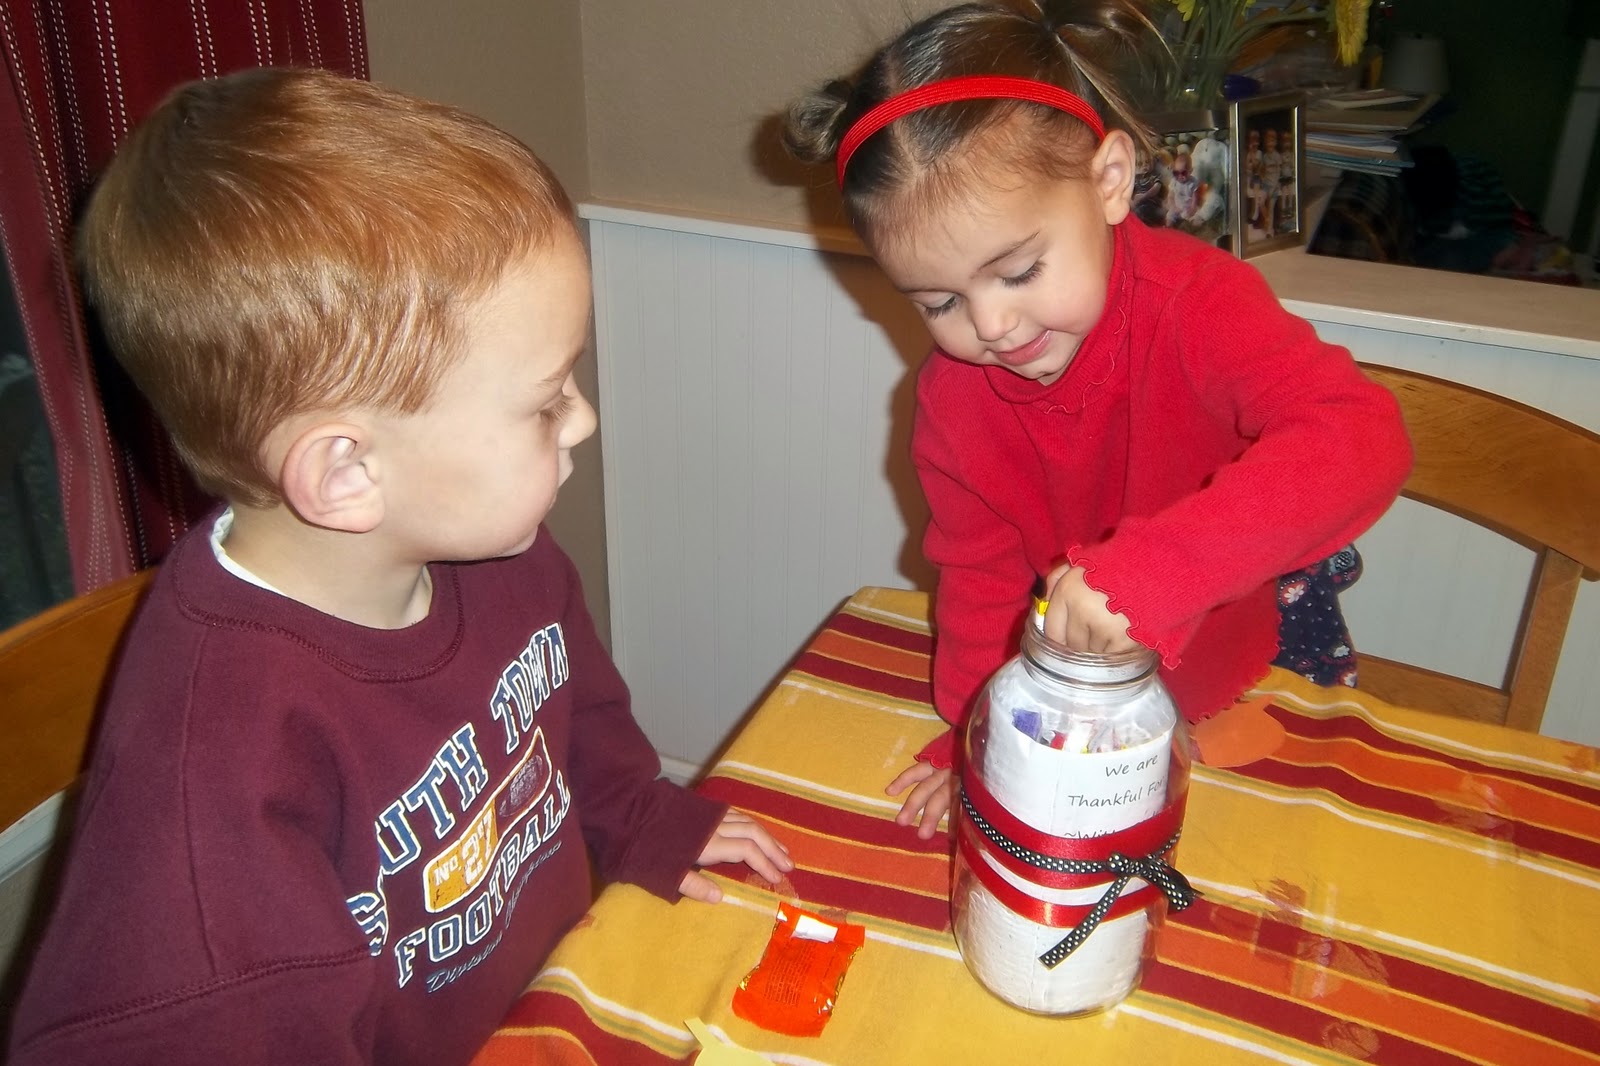
Thanksgiving Treats. Here is what we made last year:
Here is what we are making this year: HERE
Good Luck and see ya next week! :)
--->30 Minutes of Fun for Toddlers!
Updated 3x a week! Contact me directly through comments or by email!
--->NOW ON FACEBOOK!!!!
If you have tried anything on this site please leave a comment and let me know.
The more I hear from you the better! I love hearing how these activities are working in your home/daycare or nursery!
I get lots of emails about what you are doing, just leave a comment so everyone can read it too!
Click HERE
Showing posts with label Thanksgiving. Show all posts
Wednesday, November 23, 2011
Wednesday, November 3, 2010
Toddler Thanksgiving and Fall Idea
With LEFT OVER CANDY!!!!
For family night in our house we are taking each night until Thanksgiving to talk about something we are grateful for. The problem with having a 4, 3 and almost 2 year old and my having a slight pregnancy brain is coming up with 25 things to be thankful for. So I made a list and then cut them out and wrapped each category around left over Halloween candy.
If you would like the list, please email me at valeriewitte@yahoo.com
Then you put them in the jar.
Then after dinner, the kids get to pick a candy.
and then on the leaf write what they are grateful for...
Then tape it to the tree I made out of paper bags.
Since my almost 3 year old can't exactly "write" she drew a picture.
Then taped it to the window.
Once all 25 are filled out its going to look great! :)
Labels:
2 yrs +,
2010,
CHEAP,
Fall,
Free,
Holiday,
Homemade,
Quiet Activities,
Thanksgiving,
Theme,
Writing
Wednesday, November 18, 2009
Shoe and Hand Turkeys
I know, I know everyone is doing it.
I traced the shoe, folded the paper in half so I could have a pair. Glued the heels together to make a fat torso.
I traced the hands 2x and folded the paper so I had 4 hands total. Then I let them paint them with Dot Markers.
Then we assembled.
I traced the shoe, folded the paper in half so I could have a pair. Glued the heels together to make a fat torso.
I traced the hands 2x and folded the paper so I had 4 hands total. Then I let them paint them with Dot Markers.
Then we assembled.
Pretty easy, pretty cute.
Labels:
12 months +,
18 months +,
2 yrs +,
2009,
Art,
Body Parts,
Fall,
Free,
Large Motor,
Markers,
Paint,
Paper,
Thanksgiving,
Theme
Wednesday, November 11, 2009
Pilgrim Hats (both genders)
Here is what you need:
2 pieces of black, 1 piece of white, a scrap of yellow, a stapler, glue stick and yarn.
BOYS PILGRIM HAT
Cut the typical shape, with a buckle and a white strip. Glue pieces together, then cut remaining piece of paper into 2 think strips (there will be extra.) Measure the boys head and staple around it, then staple the ring to the hat, glue extra strip to the hat to cover the staples.
GIRLS PILGRIM HAT
With the white paper, fold down 2 inches of the paper and then cute two places on the opposite end. Punch 2 holes behind the flap. Bend the 3 squares behind the flap and string the yarn through the holes and attach to the girls head.
We read a few books about the pilgrims today...here they are:
Monday, November 9, 2009
Indian Corn
Last Friday's post posted in French and I am trying to fix it. Weird.
So...here's what we need: Paint red, orange, brown, and green. Bubble Wrap, Yellow paper, Brown Paper Bag, Stapler, Scissors.
Paint the bubble wrap with the red, orange and brown.
Then "stamp" it to the yellow paper.
With the brown paper bag cut a funky leaf shape and paint it green.
Once they are dry cut into a corn shape. Staple the leaves to the corn husk.
I know it looks like a pineapple, but you just trim the sides until it looks right. I forgot to take a picture after I did that. We made about 10 of them and then glued them on a giant stalk. Super cute! I will take a picture tomorrow.
Labels:
12 months +,
18 months +,
2 yrs +,
2009,
Art,
Bubble Wrap,
Fall,
Food,
Holiday,
Paint,
Paper,
Sensory,
Thanksgiving,
Theme
Subscribe to:
Posts (Atom)