If you have tried anything on this site please leave a comment and let me know.

The more I hear from you the better! I love hearing how these activities are working in your home/daycare or nursery!
I get lots of emails about what you are doing, just leave a comment so everyone can read it too!


Showing posts with label Dough. Show all posts

Tuesday, May 8, 2012

Texture Play

Everyone loves PlayDoh in my house. Last night for family night we talked about impressions and fossils.

So, we had the kids search through the house that were different textures, or patterns.

They found a comb, coins, legos, a key, pipe cleaners, a dryer sheet, a chain, and bubble wrap. 
(we may have hinted to ideas)

Then it was time to have at it!


We do family night after bath, so please excuse the wet hair and jammies. :)
This is a great fine motor activity. It also helps distinguish textural differences.
 The kids all had a blast!


 Even the one year old took a stab at it...literally!


This was just another fun way to use play doh.

We talked about ridges, grooves, indentations, and textures. They each learned new descriptive words.
We also had them predict what would happen on the other side if they pushed too hard or too soft.

Really nice and quiet activity. :)

Monday, April 2, 2012

Soap Clouds

A fun experiment, for, you know, when you need to wow your kids!

You need a bar of Ivory Soap.
Not Dove, not generic, not caress, IVORY.

Like this...
 don't do anything to it. just pop it in the microwave for 2 minutes.
 It grows and grows and grows and grows. It starts to change around 20 seconds.
 I let the kids play with it. 
It looks so fluffy and fun huh? It doesn't FEEL fluffy. You need to try it!
They tore it, and smashed it, and then put it nicely in a bowl for tomorrow's experiment. 
I have 4 posts in this series for you to do. So, you can buy a 3 pack like I did. :P 
Didn't any of you do this in Middle School? So fun!


PS - 1 bar is only .88 cents at W.
Worth it for good "clean" fun!

This was one of our Spring Break Activities. Try it!

Monday, March 26, 2012

Cream Cheese Play Dough/Snack

This is a great recipe if you have kids who need something to do AND eat! :)

Here is what you need:
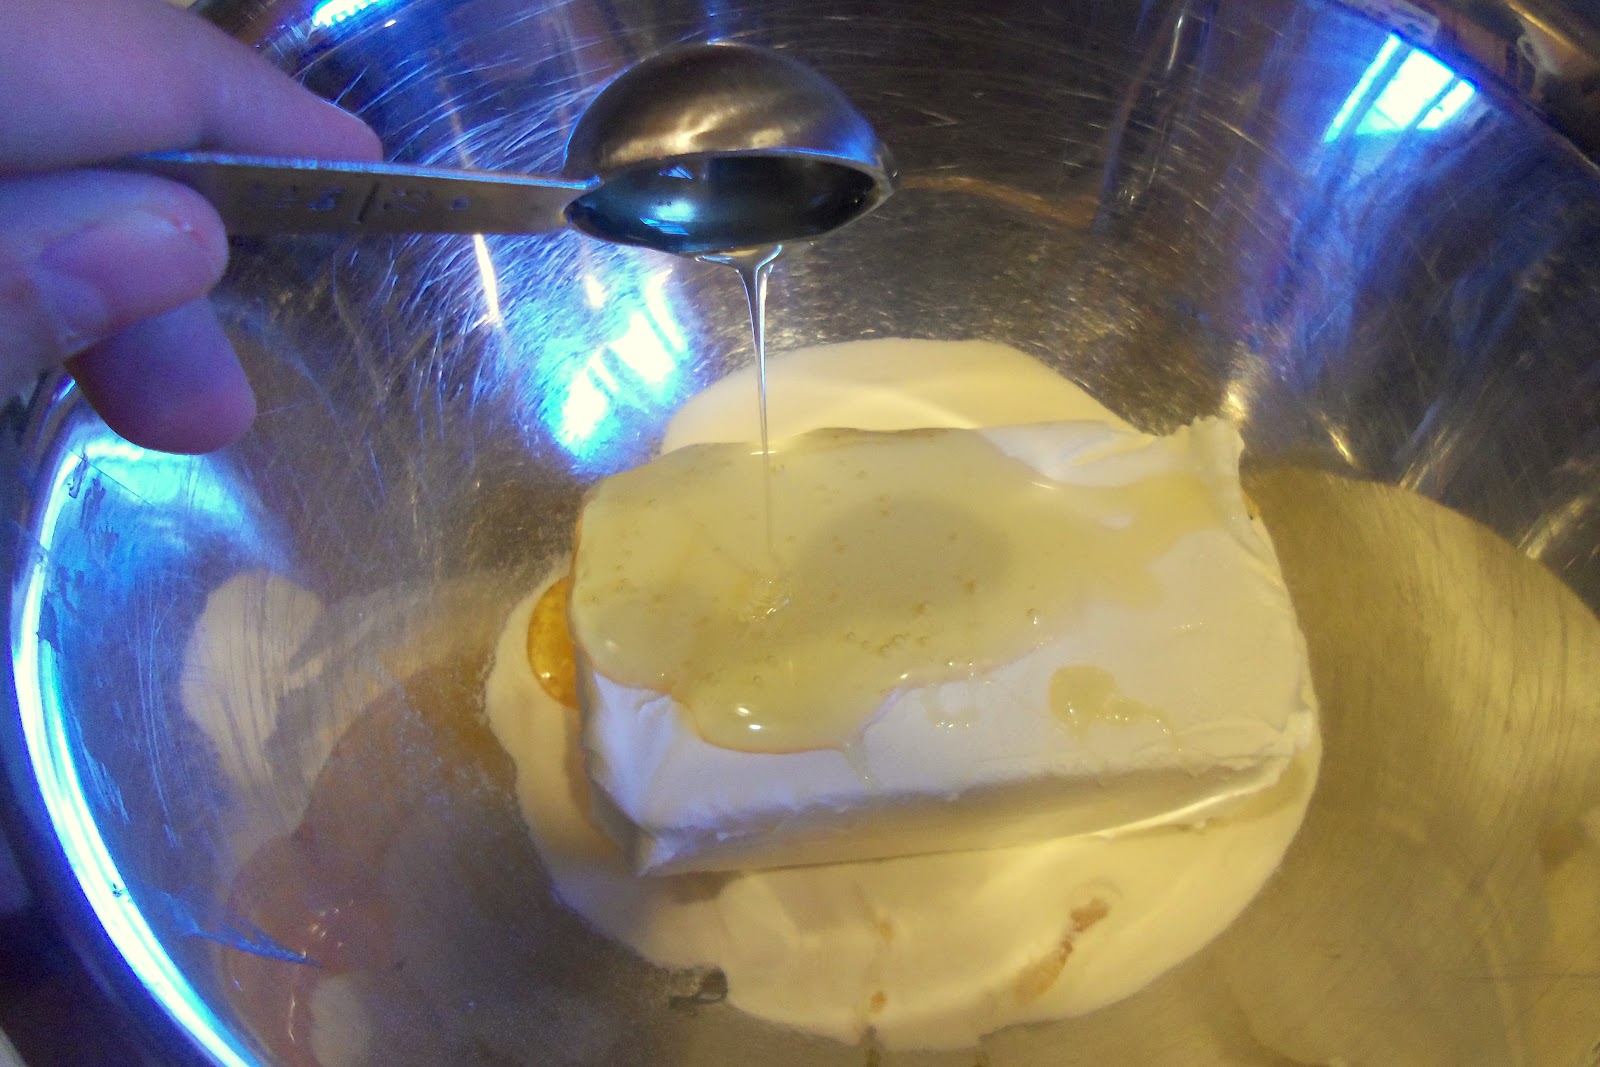
8oz cream cheese
3/4 cup non fat powdered milk.
1.5 TBSP of honey
Food Coloring
 

Sounds totally bizarre right?
Well, you mix and mix and mix until you get "frosting" consistency.

Then you slap some on waxed paper and let them go to town. I gave them forks and knives so they could scribble with it, chop it, smear it, and just "play" with it.
This was great for the 1 year old.
She wanted to "play" too!
It works, because it is also edible!

When they were done I gave them some pretzels, excellent timing, as it was snack time. :)


This stuff does not keep, so it is for one time play only.
I bet you have all this stuff on hand.
I always have powdered milk - but that is because I use it for baking wheat bread. 
Have fun and try it!

Monday, March 19, 2012

Sticky Sensory Dough

Here is what you need:

4 slices of white bread, crusts cut off
4 TBSP of white liquid glue
4-5 drops of food coloring

Large bowl
Large Spoon
Plates

Start by tearing up the dough into small pieces.

Oh, give the crusts to the one year old...
She will take care of those. :)

Then, add the glue and food coloring.
I made ours speckled by only adding 4 drops all over the bowl.
If you want a solid color, add it to the glue and stir to make a solid color.

Then stir it up!

Separate on plates and let them go to town!


You can double it, triple it, whatever you want.
This was perfect for 2 kids.
I knew my one year old would eat it, so she got to watch and enjoy crusts! :)

This project cleans up fast and you can let it dry over night and harden, or just trash it.
Either way, 30 minutes of fun and done!

Wednesday, March 14, 2012

Pie Day!

My kids love to cook. Actually, I love to cook too!

If my dad had never sat with me and cooked with me when I was younger, I probably wouldn't love it as much as I do.  Funny that I am better at baking than he is! Haha.

I hope to teach my kids how to cook, even my sons so that they never go hungry, and so they always remember what fun we had doing it together!

Here goes. In honor of
Pie Day
(3.14)

We made pies together.
I already made pie crusts last night while they were in bed, and then I remembered I had these in my pantry.

So here is what you need:
 Seriously, the Jiffy boxes are .88 cents a box, the walmart filling is $1.98 a can, not the most delicious, but who cares?  The best thing about Jiffy mix is...
It only requires WATER! Perfect for little ones!
 She is being dramatic (above) it is so easy to roll out!
The directions are right on the box.

Then cut out about 1/2 to a full inch around the perimeter of your "pan"

Here is my son, greasing the pyrex bowls with butter.
Then fill with dough and press around, then fill with filling...
 Add the top (after punching with holes)
I bought these at Walmart too...
They are 3 for $1.75 and come with lids!
I bought these so we could make some for the hubs.
 ooh! a fancy lattice top!
I poked the tops with the ages of the kids. So we could tell who's was who's.

Then we baked according to the filling instructions...
done!

If you want to celebrate Pie day but don't have time...
They sell these individual pies for .98 cents a piece!

We are having friends over tonight for dessert and these will be perfect for the kids!

Thursday, February 2, 2012

White Mud

Here is what you need:
A bar of soap
A grater
A tub/pan
Loose toilet paper

Start by grating 1/2 a bar of soap.

Then tear the toilet paper up

Then add soap.

Then add water.

Let the kids squeeze, manipulate, and play with their mud as long as they like.
The more they play with it, the better it will be.

Good Clean Fun!

Monday, December 19, 2011

Winter Break Activity #1 - COOKING - Cracked Snowballs


  • 4 1/2 cups all purpose flour
  • 4 teaspoons baking powder
  • 1 1/2 teaspoons salt
  • 1 pound cream cheese
  • 2 sticks unsalted butter
  • 3 cups sugar
  • 2 eggs
  • 1 teaspoon vanilla extract
  • Confectioner’s sugar for rolling and dusting
Stir together the flour, baking powder, and salt.  Set aside.  
In the bowl of an electric mixer with the paddle attachment, cream the cream cheese, butter, and sugar together until fluffy.  
Add the eggs and vanilla extract.
Incorporate the flour mixture.  
Chill for at least 30 minutes.  
Scoop roughly 1-ounce balls and toss in the confectioner’s sugar.  
Place on a baking sheet, lined with parchment, a couple of inches apart.  
Bake at 325° F until they spread and puff slightly, about 12-16 minutes.  
They will be really soft in the center.  If they start to brown, they’ve gone too far.  Cool to room temperature.


From this point, we usually refrigerate them on the tray because as the cream cheese and butter get cold, they’re easier to pick up. It is a good tip. (matthew rice suggests this)  Dust with more confectioner’s sugar before serving.  


Our family usually serves these cookies straight from the fridge. They taste different warm. Store these in the fridge and you can serve them cold/cool.


These will keep for up to a week in the fridge. We are sending them out in the morning with Daddy. :)


They are gooey inside almost under baked but so rich and good!

this content is copyrighted NO RIGHT CLICK!

..

Protected by CopyrightSpot MyFreeCopyright.com Registered & Protected